


Why Prep the Walls Before Start to Paint Matters: Getting your house ready for painting is an essential step to ensure a smooth and lasting finish.
We know that deciding to paint your house without using a company or a third party can be an exhausting and stressful process, even more so if the house is fully occupied. If you have already decided to do it yourself, I will give you a series of recommendations that will make your job easier. Before the transformation begins, an essential step should not be overlooked: preparing the walls. Correct preparation is the key to ensuring that your house is ready for painting and your paint job looks impeccable. Let’s see how to prepare your house for painting, making sure that each brush stroke contributes to a spectacular finish.
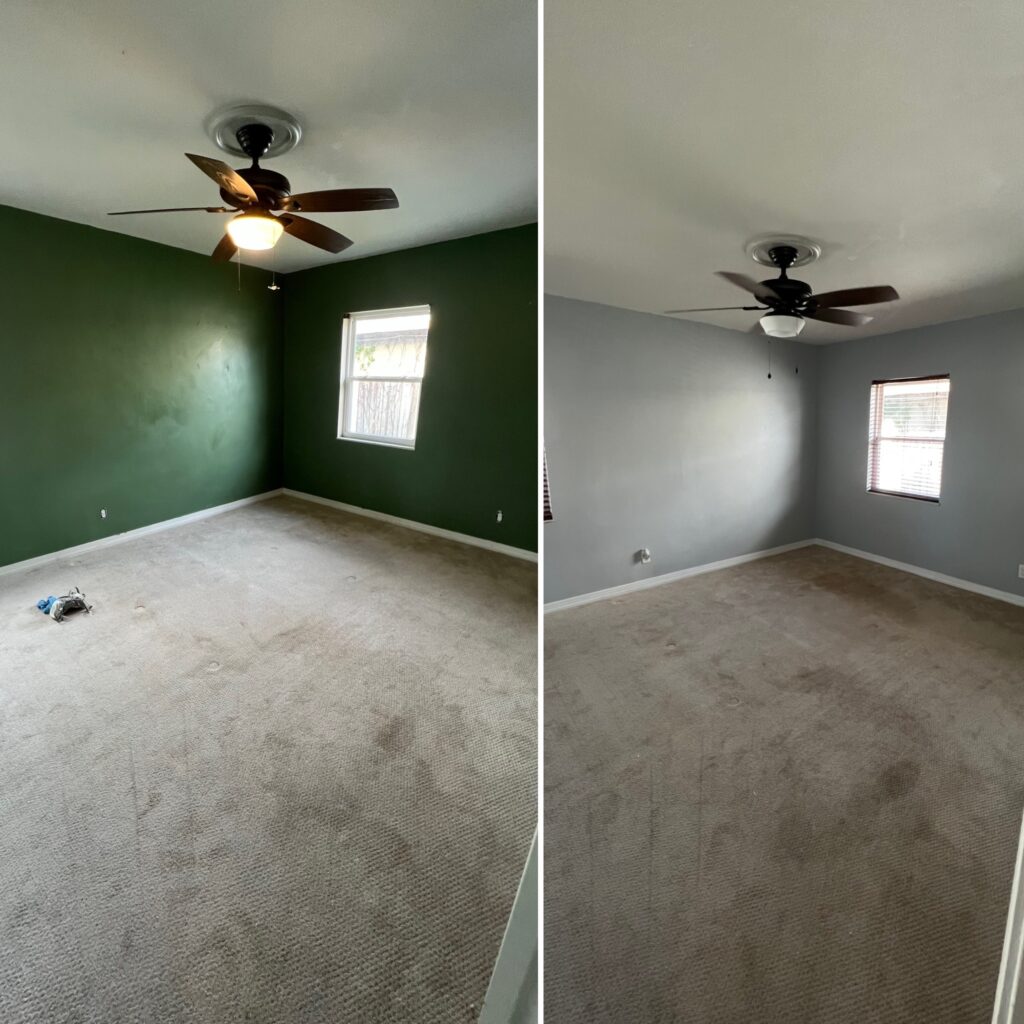
Imagine finally discovering that color combination you love, only to find weeks later that the new paint is peeling. About 80% of wall painting failures are due to poor preparation. This statement highlights the importance of properly preparing the space before painting. From pressure washing the exterior of your home to patching holes inside, every step ensures that the paint adheres well and looks great. So, is your house ready for painting? Let’s explore further to make sure.
Preparation Steps for a Perfect Paint Job:
1. Start Clean:
-
- Inside: Dust off surfaces and wipe them down with a mild detergent solution to remove any dirt.
-
- Outside: Use a power washer to clean exterior walls effortless, and consider a mildew-removing detergent for stubborn areas.
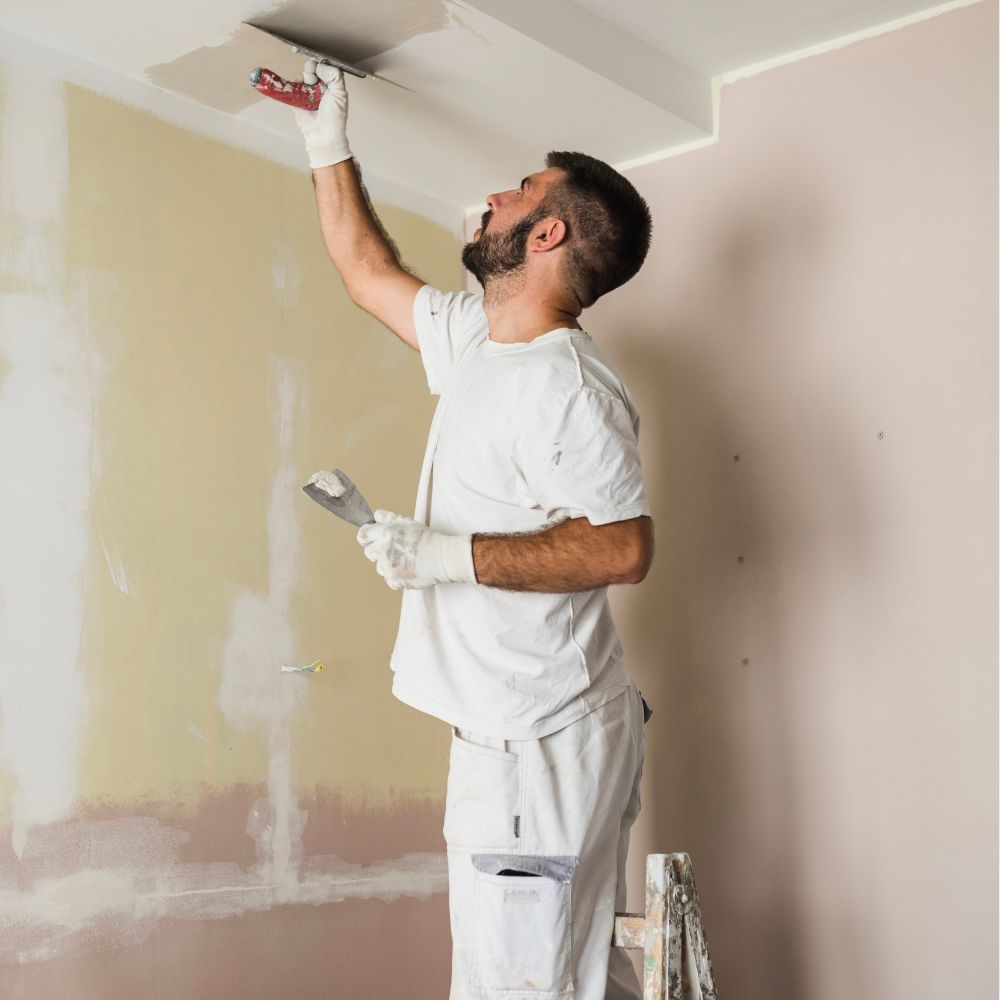
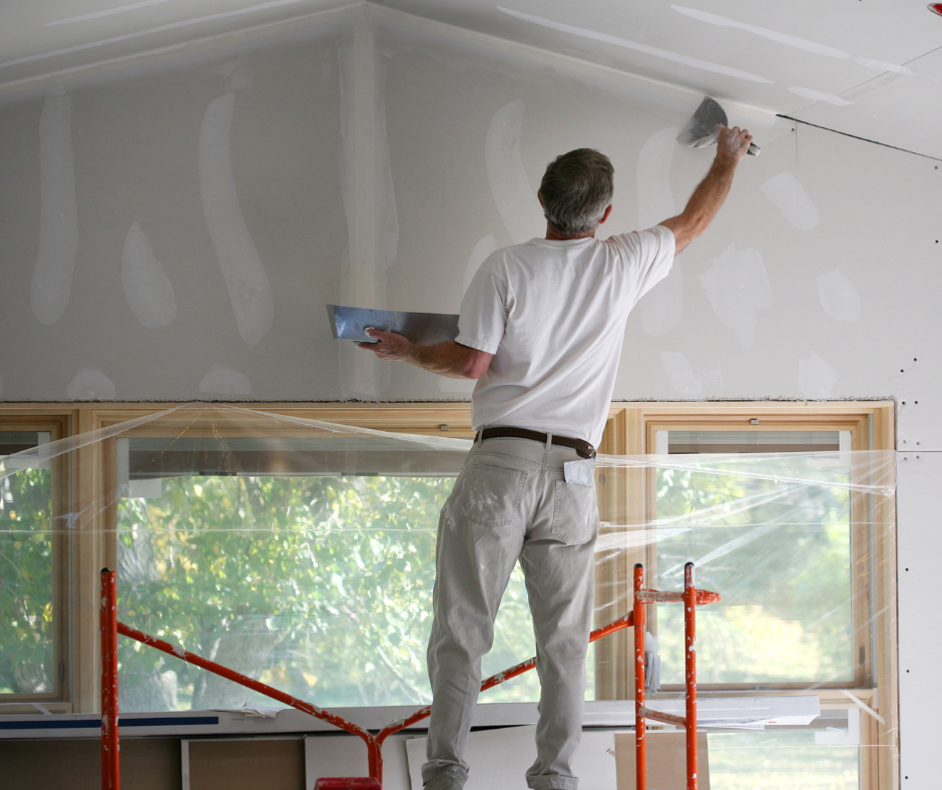
2. Repair and Sand:
-
- Inside: Fill in cracks and holes, then sand the area smooth. Remember to clean before sanding to avoid embedding dirt deeper into surfaces.
-
- Outside: Scrape off any peeling paint, sand the area, and address any necessary repairs to ensure a smooth base for painting. This helps you get your house ready for painting effectively.
3. Protect Your Space:
-
- Inside: Move furniture and cover floors and remaining fixtures with drop cloths to catch any drips or spills.
-
- Outside: Protect landscaping and outdoor furniture with covers, and be prepared to tie back plants or shrubs close to the painting area.
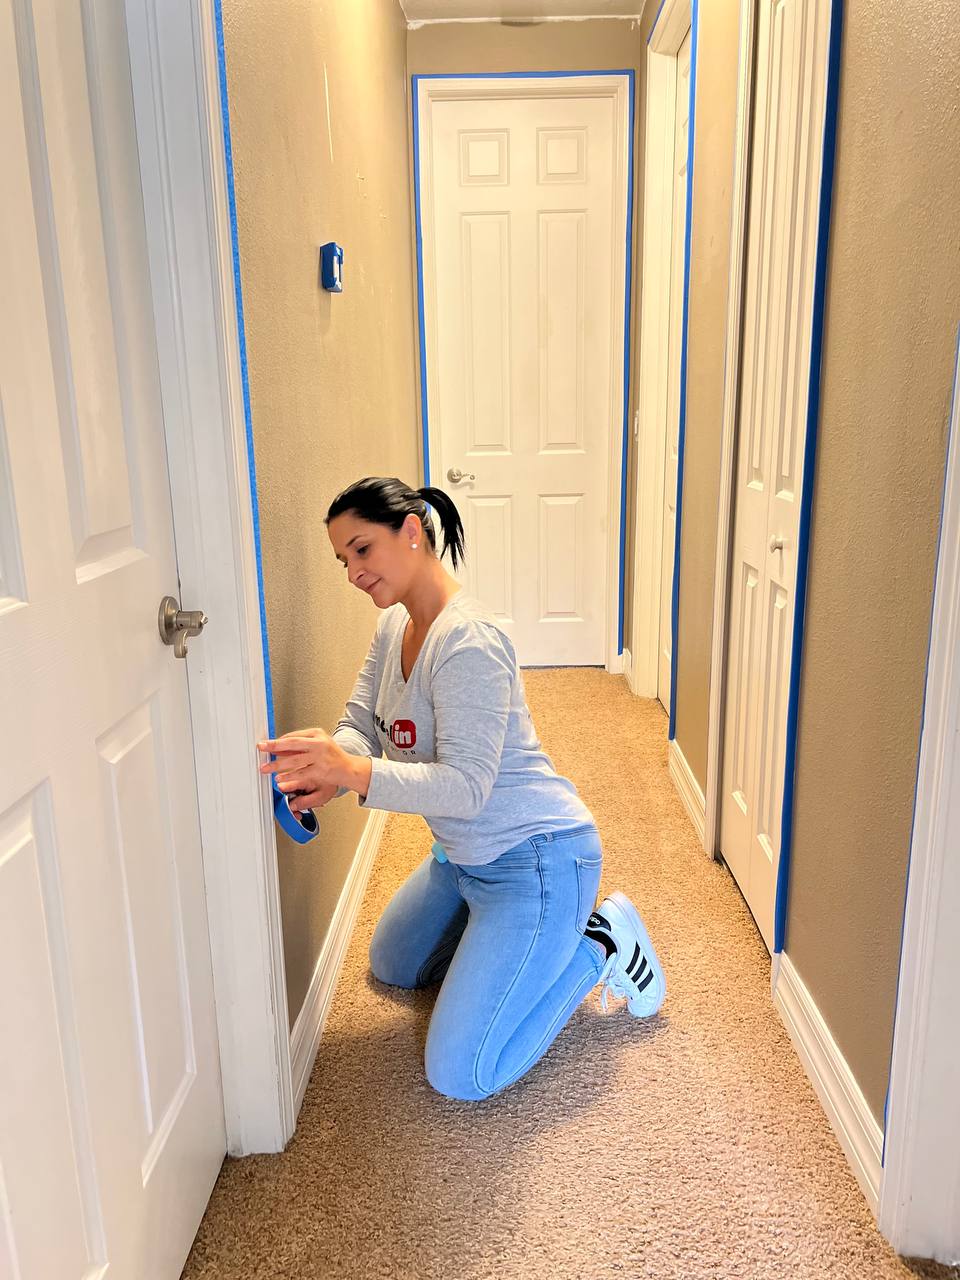
4. Tape It Up:
-
- Everywhere: Use painter’s tape to shield windows, trim, and any areas where you want to keep paint-free. Ensure it’s applied smoothly to prevent paint from bleeding underneath, and guarantee your house is ready for painting.
The Value of Patience in Painting:
Rushing into painting without proper preparation might be tempting, but taking the time to prep your space can significantly enhance the outcome. Not only does it prevent potential issues like peeling or uneven coverage, but it also ensures that your paint job stands the test of time, saving you both money and effort in the long run. Preparing your house ready for painting with patience yields the best results.
FAQs for a Smooth Painting Experience:
-
- How often should I repaint my home’s exterior?
-
- Typically, every 5 to 10 years, depending on the climate and the paint’s quality, we recommend Sherwin-Williams.
-
- How often should I repaint my home’s exterior?
-
- Can I paint over the wallpaper?
-
- It’s possible, but not recommended. Removing wallpaper ensures a smoother, more durable finish.
-
- Can I paint over the wallpaper?
-
- What’s the best way to choose a paint color?
-
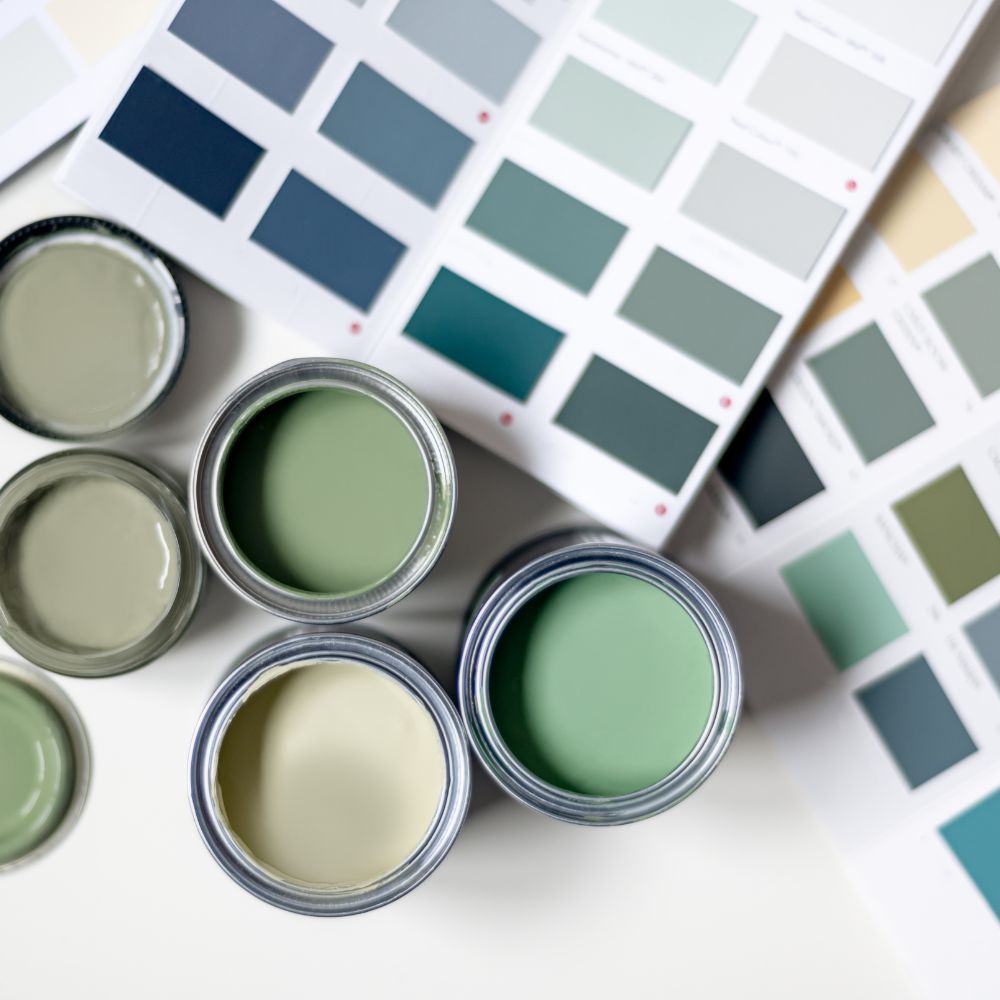
- Test swatches on your walls and observe how they look at different times of the day to ensure you’re happy with the color in all lights.
-
- What’s the best way to choose a paint color?
-
- How do I know if I need a primer?
-
- Priming is crucial if you’re making a drastic color change, painting over a dark color, or covering stains.
-
- How do I know if I need a primer?
-
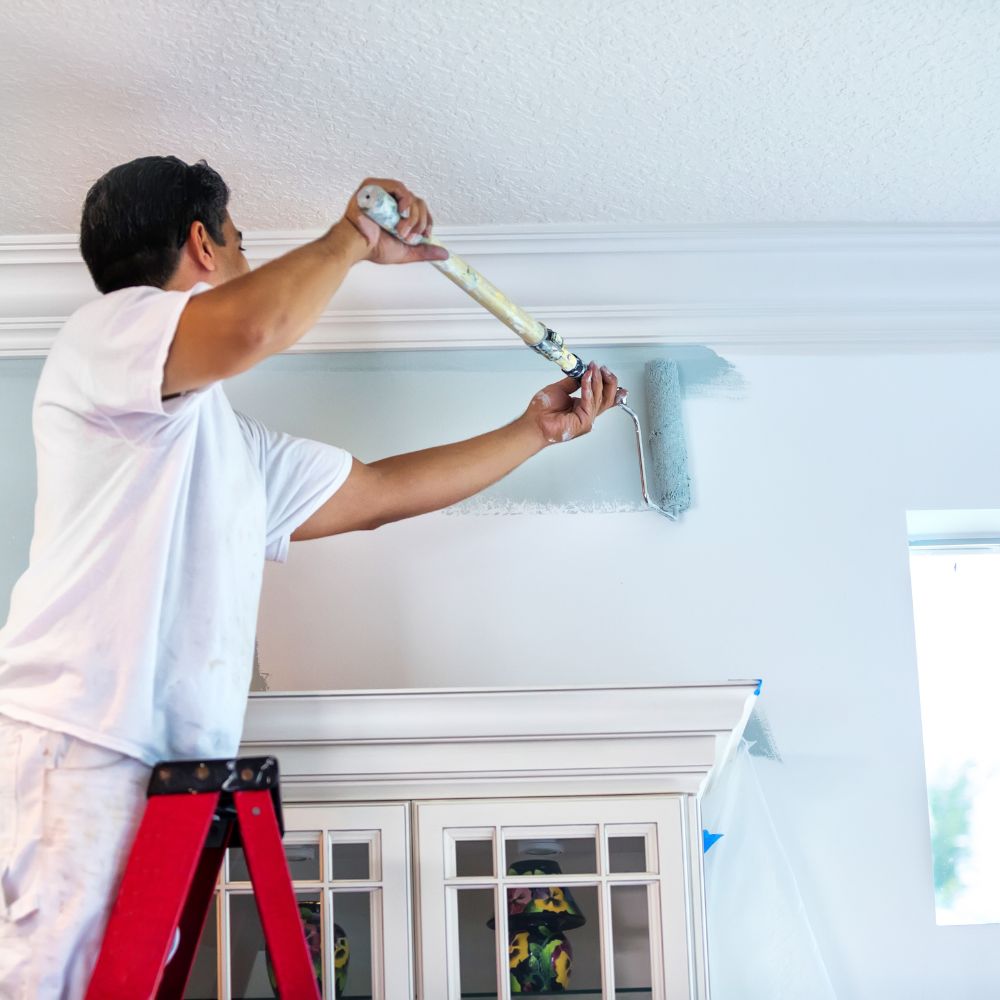
- Should I paint the trim or walls first?
-
- Most professionals recommend starting with the trim, as it’s easier to tape off and protect when painting the larger wall areas afterward.
-
- Should I paint the trim or walls first?
Conclusion:
While the thrill of transforming your home with a new coat of paint is real, the success of your project lies in the preparation. By following these essential steps, you ensure a paint job that not only looks professional but also endures over time. So, grab your supplies, don your gloves, and prep your house ready for painting makeover that’s sure to impress.
Ready to start your painting project? Remember, a little prep goes a long way toward achieving those dreamy results you envision. Happy painting! handyflex.net